Air conditioners, especially mini split systems, have become an essential part of many homes, particularly during hot weather. However, mini split installation is often considered complicated and expensive because it usually involves hiring professional technicians. In reality, with proper preparation and the right guidance, you can handle a mini split installation yourself at home without spending a lot on technician fees.
This guide will walk you through a simple, safe, and efficient mini split installation process so you can enjoy a cool and comfortable environment without the hassle.
Important Preparations Before Mini Split Installation
Before starting the mini split Installation process, there are several important things you need to prepare to ensure everything runs smoothly and safely:
1. Choose the Right Location
Make sure the indoor unit is installed in a strategic location such as a living room or bedroom where it is frequently used. The outdoor unit should be placed in an open area with good ventilation so that hot air can be released properly.
2. Check Components and Installation Tools
Ensure that all components are complete, including the refrigerant pipe, electrical cables, mounting brackets, and necessary tools.
???? Some modern units like Cozeware are designed to be DIY-friendly, making installation easier even for beginners.
3. Turn Off the Power Source
This is crucial to avoid electrical hazards during installation. Always ensure the electricity is completely turned off before starting.
With proper preparation, the mini split Installation process will be much easier to handle.

Step-by-Step DIY Mini Split Installation Guide
Once everything is ready, follow these DIY mini split steps:
1. Install Indoor and Outdoor Brackets
Mount the indoor bracket securely on the wall and ensure it is level. Then install the outdoor bracket in a well-ventilated area.
2. Drill a Hole for Pipes and Cables
Drill a hole through the wall for the refrigerant pipe and electrical wiring. The hole should be slightly slanted outward to allow proper drainage of condensation water.
3. Connect Pipes and Cables
Attach the refrigerant pipe and electrical cables between the indoor and outdoor units. Make sure all connections are tight and properly insulated.
4. Mount the Indoor and Outdoor Units
Install the indoor unit onto its bracket and place the outdoor unit securely outside. Ensure both units are stable and not shaking.
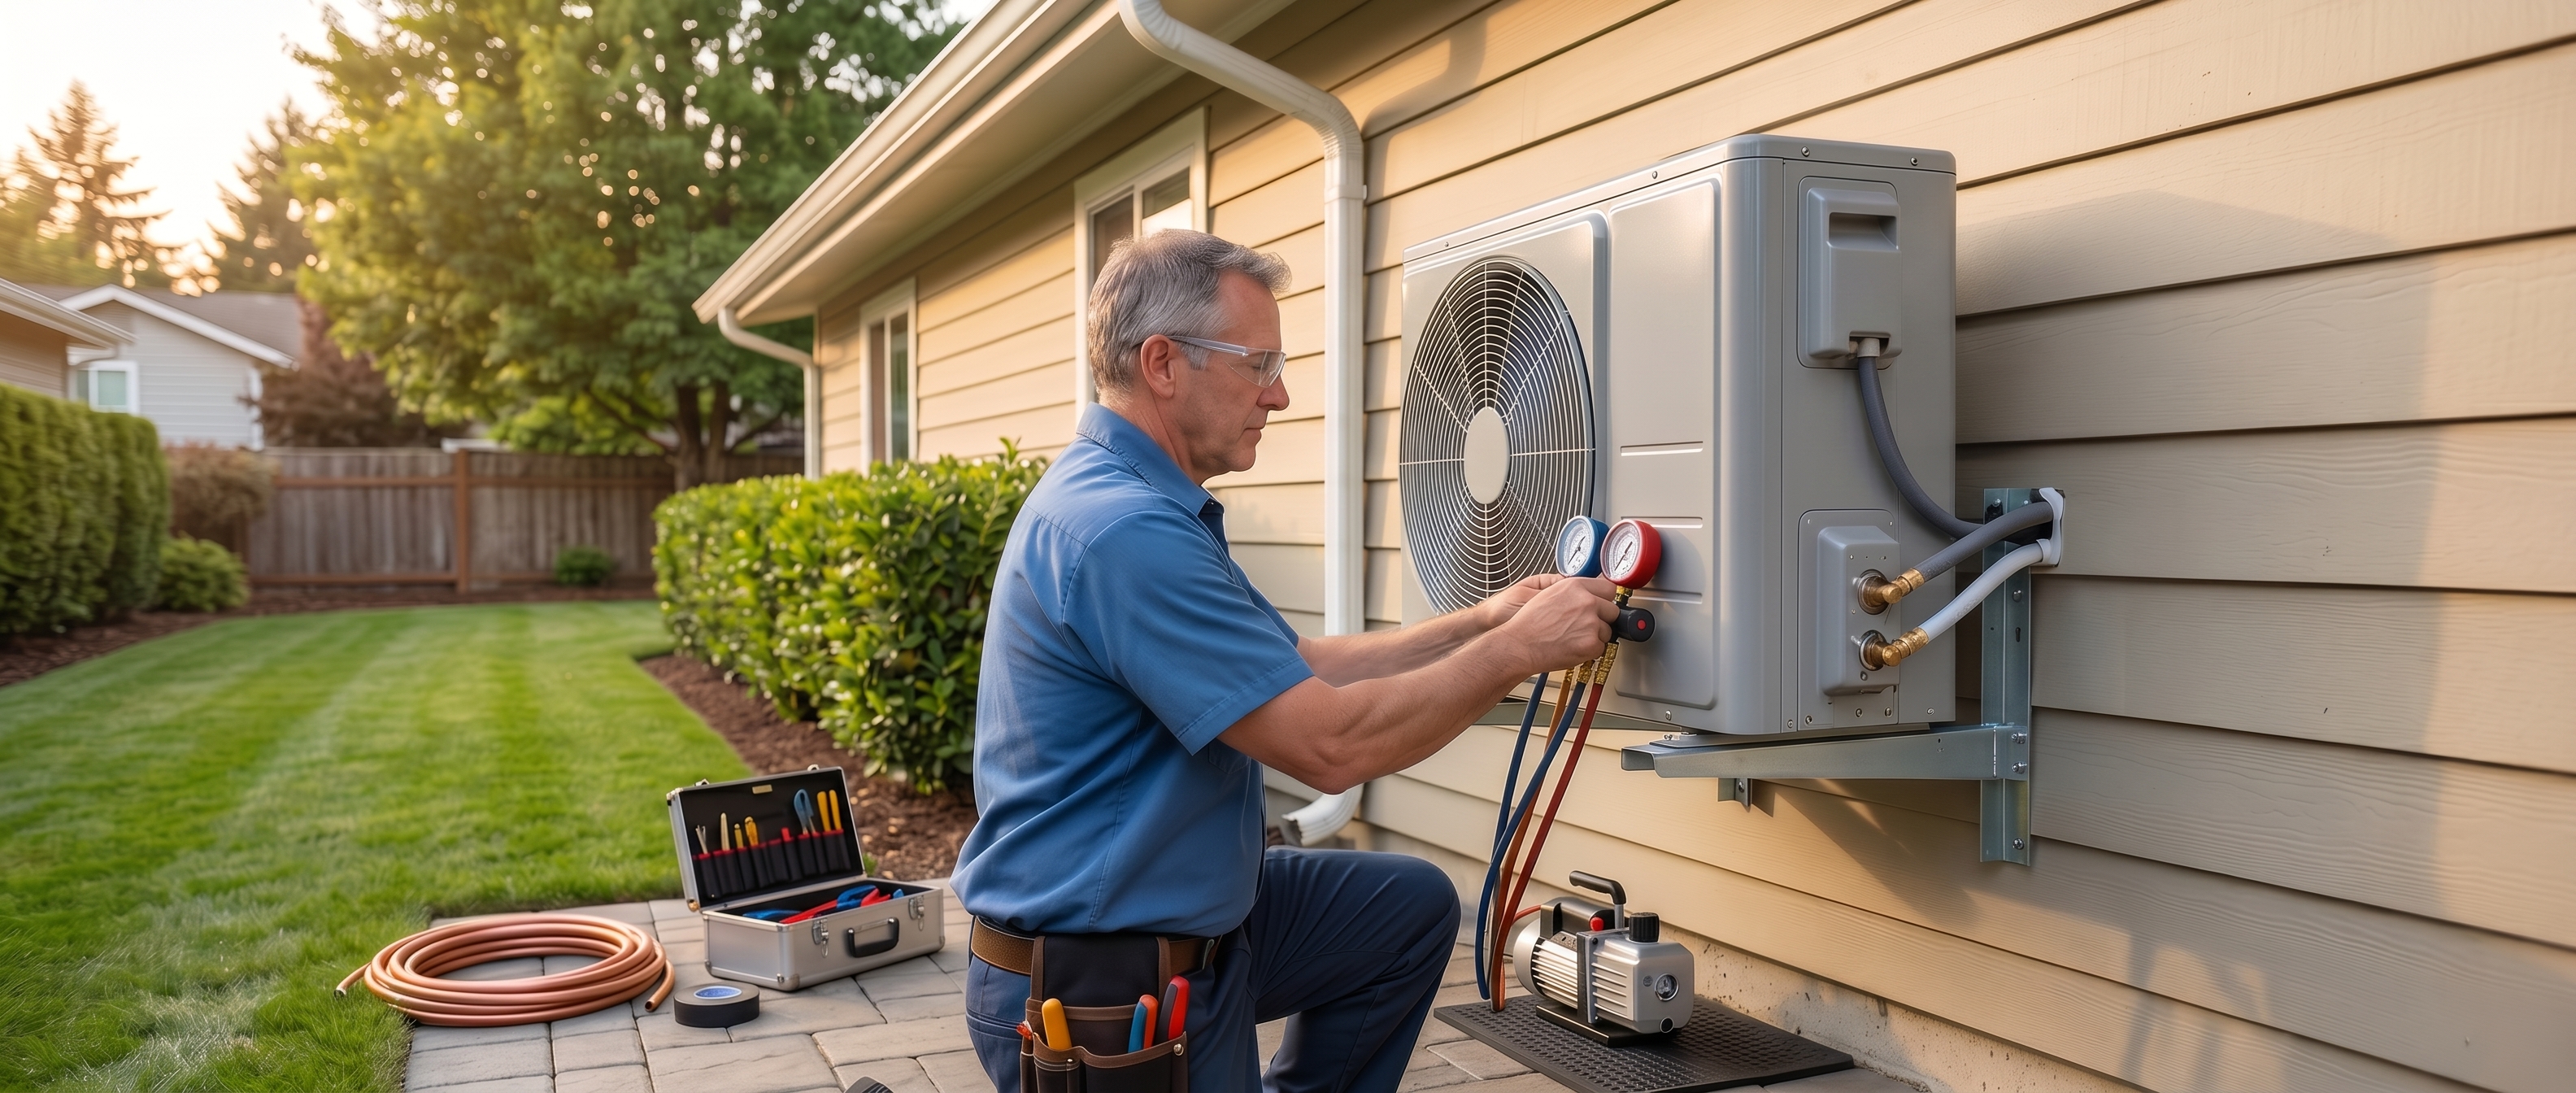
5. Test the System and Vacuum the Refrigerant Pipe
Turn on the system to check if it works properly. Use a vacuum pump to remove air from the refrigerant pipe, as trapped air can affect cooling performance. install a mini split without technician support

Can beginners install a mini split without technician support?
Many people wonder if they can install a mini split without technician support. The answer is: yes, it is possible, as long as you follow the correct steps and prioritize safety. Here are a few tips:
Follow Manuals and Video Tutorials
Most AC brands provide clear installation guides. You can also watch tutorials to better understand how to install a mini split without technician support.
Prioritize Electrical Safety
Always turn off the electricity and use protective equipment like gloves when you install a mini split without technician support.Call a Professional If Needed
If you feel unsure—especially for technical steps like refrigerant handling—it’s better to consult a technician, even if your goal is to install a mini split without technician support. mini split tools and equipment

Mini Split Tools and Equipment Needed for Installation
Based on the installation reference, here are the mini split tools and equipment you should prepare:
Essential Tools:
Standard wrench
Adjustable wrench
Torque wrench
Hex (Allen) keys
Drill and drill bits
Hammer drill
Pipe cutter
Manifold gauge set (manometry)
Flaring tool
Additional Mini Split Tools and Equipment:
Vacuum pump
Safety glasses
Work gloves
Refrigerant scale
Manometer
Level
Screwdrivers
Clamp meter
Safety gear such as rubber gloves and eye protection is highly recommended when using mini split tools and equipment to prevent injuries during installation.

Final Thoughts
Additional Tips for Faster and More Efficient Installation
Plan the pipe route as short as possible to minimize leak risks and maintain optimal cooling performance for your home split.
Make sure the outdoor unit has enough open space and is not blocked, so airflow remains smooth and efficient.
Double-check all piping and electrical connections before turning on your home split system.
Keep your workspace clean before, during, and after installation to ensure safety and better organization.
Conclusion
Installing a home split system doesnt always require hiring an expensive technician. With proper preparation, the right tools, and careful execution, you can install a home split on your own safely and efficiently.
A user-friendly home split system can make the installation process much easier, especially for beginners. However, safety should always come first, if you're unsure about any step, it's best to consult a professional.
By following these tips, you can enjoy a cooler and more comfortable home while saving on installation costs.